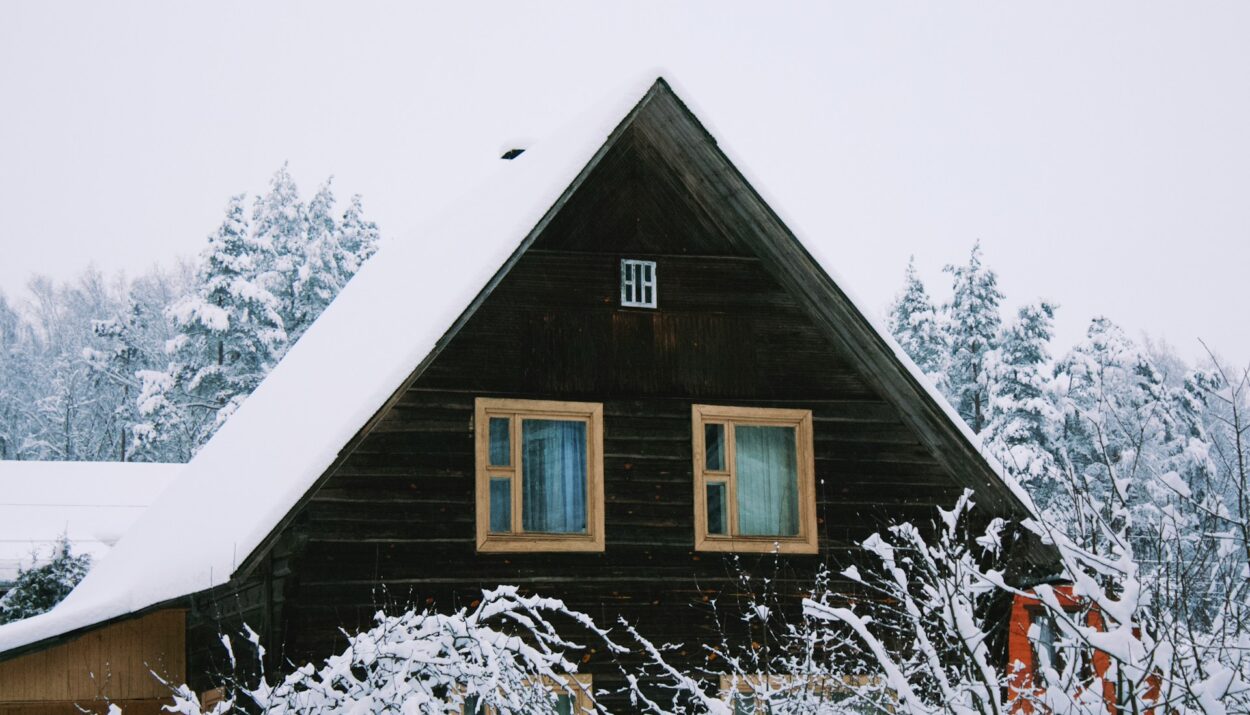
Winter is magical, but the colder months bring their share of headaches. One of the most common issues homeowners face is the buildup of ice dams on their roofs. Left unchecked, ice dams can cause leaks, damage shingles, and compromise the structural integrity of your home.
Enter roof heating cables, a practical and effective solution for preventing ice dams. If you’re wondering how to install roof heating cables or why you should consider them, you’re in the right place.
This comprehensive guide will walk you through everything you need to know about roof de-icing using heating cables. From understanding how they work to installation tips and maintenance, we’ve got you covered.
What Are Roof Heating Cables and How Do They Work
Before getting into the installation process, it’s important to understand what roof heating cables are and why they’re essential.
The Basics
Roof heating cables, sometimes referred to as heat tape, are electric heaters for your roof. They are designed to prevent the formation of ice dams by maintaining a consistent temperature that keeps snow and ice from freezing in problematic areas such as gutters, downspouts, and roof edges.
How They Work
The cables generate just enough heat to melt snow and ice, ensuring water runs off properly and doesn’t refreeze at critical points on your roof. When installed correctly, these cables can save homeowners from the costly damages caused by ice dams.
Benefits of Installing Heating Cables
Before you jump into roof heating cable installation, it helps to understand the benefits so you know what you’re investing in.
Prevents Ice Dams and Water Damage
The primary benefit is simple yet significant. Heated cables prevent the buildup of snow that refreezes into ice dams, which can lead to leaks and considerable water damage inside your home.
Enhances Energy Efficiency
Modern heating cables are designed to be energy-efficient. Many come with built-in thermostats that activate only when the temperature drops below a certain point, keeping your energy bills manageable.
Extends Roof Lifespan
Freezing and thawing cycles take a toll on your roof over time. By eliminating these cycles, heating cables can extend the life of your roof and protect your shingles from cracking or buckling.
Choosing the Right Roof Heating Cables
Not all heating cables are created equal. Selecting the right one for your needs is crucial for effective roof de-icing.
Types of Roof Heating Cables
- Self-Regulating Heating Cables: These automatically adjust their temperature based on the ambient temperature, making them energy-efficient and safer to use.
- Constant Wattage Cables: These cables supply a consistent amount of heat regardless of outdoor conditions, usually at a lower upfront cost but less efficient in terms of energy usage.
Key Factors to Consider
- Weather Conditions: Choose cables rated for the coldest temperatures in your area.
- Length Needed: Measure the areas where you plan to install the cables. Ensure the cables you select are long enough to cover all critical sections, including eaves, gutters, and downspouts.
- Warranty: Look for a product with a solid warranty in case of defects or issues.
Tools and Materials Required for Installation
Installing roof heating cables isn’t overly complicated, but having the right tools and materials makes the process much smoother.
Tools
- Ladder
- Tape measure
- Roof clips or heat cable fasteners
- Extension cord (outdoor, weatherproof)
Materials
- Roof heating cables (Ensure they’re heavy-duty and suitable for your climate.)
- Zip ties or durable cable straps for securing cables to downspouts.
Pro Tip: Make sure to read the instructions included with the heating cables before beginning installation, as each system may come with specific requirements.
Step by Step Roof Heating Cable Installation
Now that you’re equipped with the right tools and materials, it’s time to get down to the nitty-gritty. Follow these steps for a safe and effective installation.
Step 1 Measure and Plan
Begin by measuring the sections of your roof, eaves, and gutters where the cables will be installed. Plan a zigzag pattern for the cables on roof edges, which ensures optimal heat coverage.
Step 2 Install Roof Clips
Using roof clips or cable fasteners, secure the cables along the edges of your roof. These clips will help keep the cables in place and spaced correctly. Attach them approximately every 12 inches.
Step 3 Lay the Cables
Carefully lay the cables in the planned zigzag pattern along the roofline. Run the cables through gutters and downspouts, securing them with zip ties as needed.
Step 4 Connect to Power
Plug the cables into a properly rated outdoor electrical outlet. If the cables feature a built-in thermostat, ensure it’s placed in an area easily exposed to temperature changes for accurate readings.
Step 5 Test the System
Once everything is secured and plugged in, turn on the system to ensure it heats up correctly. Double-check that no cables are loose or improperly laid.
Maintenance Tips for Heating Cables Efficiency
After installation, keeping your heating cables in good condition ensures they work effectively when you need them most.
Regular Inspections
Inspect your cables, clips, and connections before and after each winter season. Look for signs of wear, such as frayed cables or loose clips.
Clean Gutters
Remove debris from gutters and downspouts regularly. Blockages can hinder the effectiveness of your heating cables.
Monitor Energy Usage
Energy-efficient options like self-regulating cables are ideal, but for added peace of mind, consider plugging your system into an energy monitoring outlet to track usage.
Why Roof Heating Cables Are a Smart Winter Prep Investment
Preventing ice dams is no longer just about aesthetics; it’s about safeguarding your home from expensive repairs. Installing roof heating cables is a proactive approach to winter prep, ensuring your roof and home stay protected during harsh weather conditions.
By following this guide, you’ll not only simplify the installation process but also enjoy the peace of mind that comes with knowing your home is prepared to weather the storm. Looking for the best options in roof heating cables? Check out this website for expert recommendations and top-rated products.


